If you have used aPlus+ in a previous semester and would like to access the aPlus+ configuration in an older Canvas site(s), please refer to this article here (Option 1) and use upenn.aplusattendance.com as the URL to access the admin portal.
aPlus+ is an attendance-tracking tool that is integrated with Canvas through a third-party application. It enables teaching teams to set specific attendance sessions on a timetable to manage student check-ins. From an instructor standpoint, the check-ins can be administered manually using custom statuses, or you can allow students to sign in using a specific alphanumeric or QR code, within a timeframe that you specify.
For details on how to set up aPlus+ check-in windows and related classroom needs, please refer to this article. If you have never used aPlus+ before or if you need a refresher on how to add the application to a new site, please see Setting up aPlus+ Attendance in Canvas (Instructors). Other helpful articles include Using aPlus+ Attendance in Canvas (Instructors) and Managing Student Absence Requests with aPlus+ Attendance in Canvas (Instructors).
Before You Start
You will need:
- Access to Canvas
- Instructor-level access to the class that is using aPlus+.
- aPlus+ set up in your Canvas course.
For help with any of these, contact your Wharton Computing representative.
Once your attendance is configured in aPlus+ and ready to go for the in-person check-in process, you'll need to start up the classroom system and log in to the canvas.upenn.edu site with your PennKey username and password.
Please Note: aPlus+ Attendance is NOT completely accessible for low-vision students due to the way the numeric code is displayed. If you use this code, we recommend contacting your Wharton Computing representative to discuss alternate solutions.
aPlus+ Attendance Tab
When you first click on the tab in your Canvas site (as long as aPlus+ has already been accessed and timetables have been configured), you'll see a privacy screen protecting student data from being projected via the in-class projectors:
To turn off the privacy screen, select the blue Turn off privacy screen button shown in the screenshot above.
Once this is turned off, you'll typically be taken to where you left off in the application. In this example, the Sessions tab is open, showing the attendance sessions on the course timetable:

Codes - Activating the check-in process
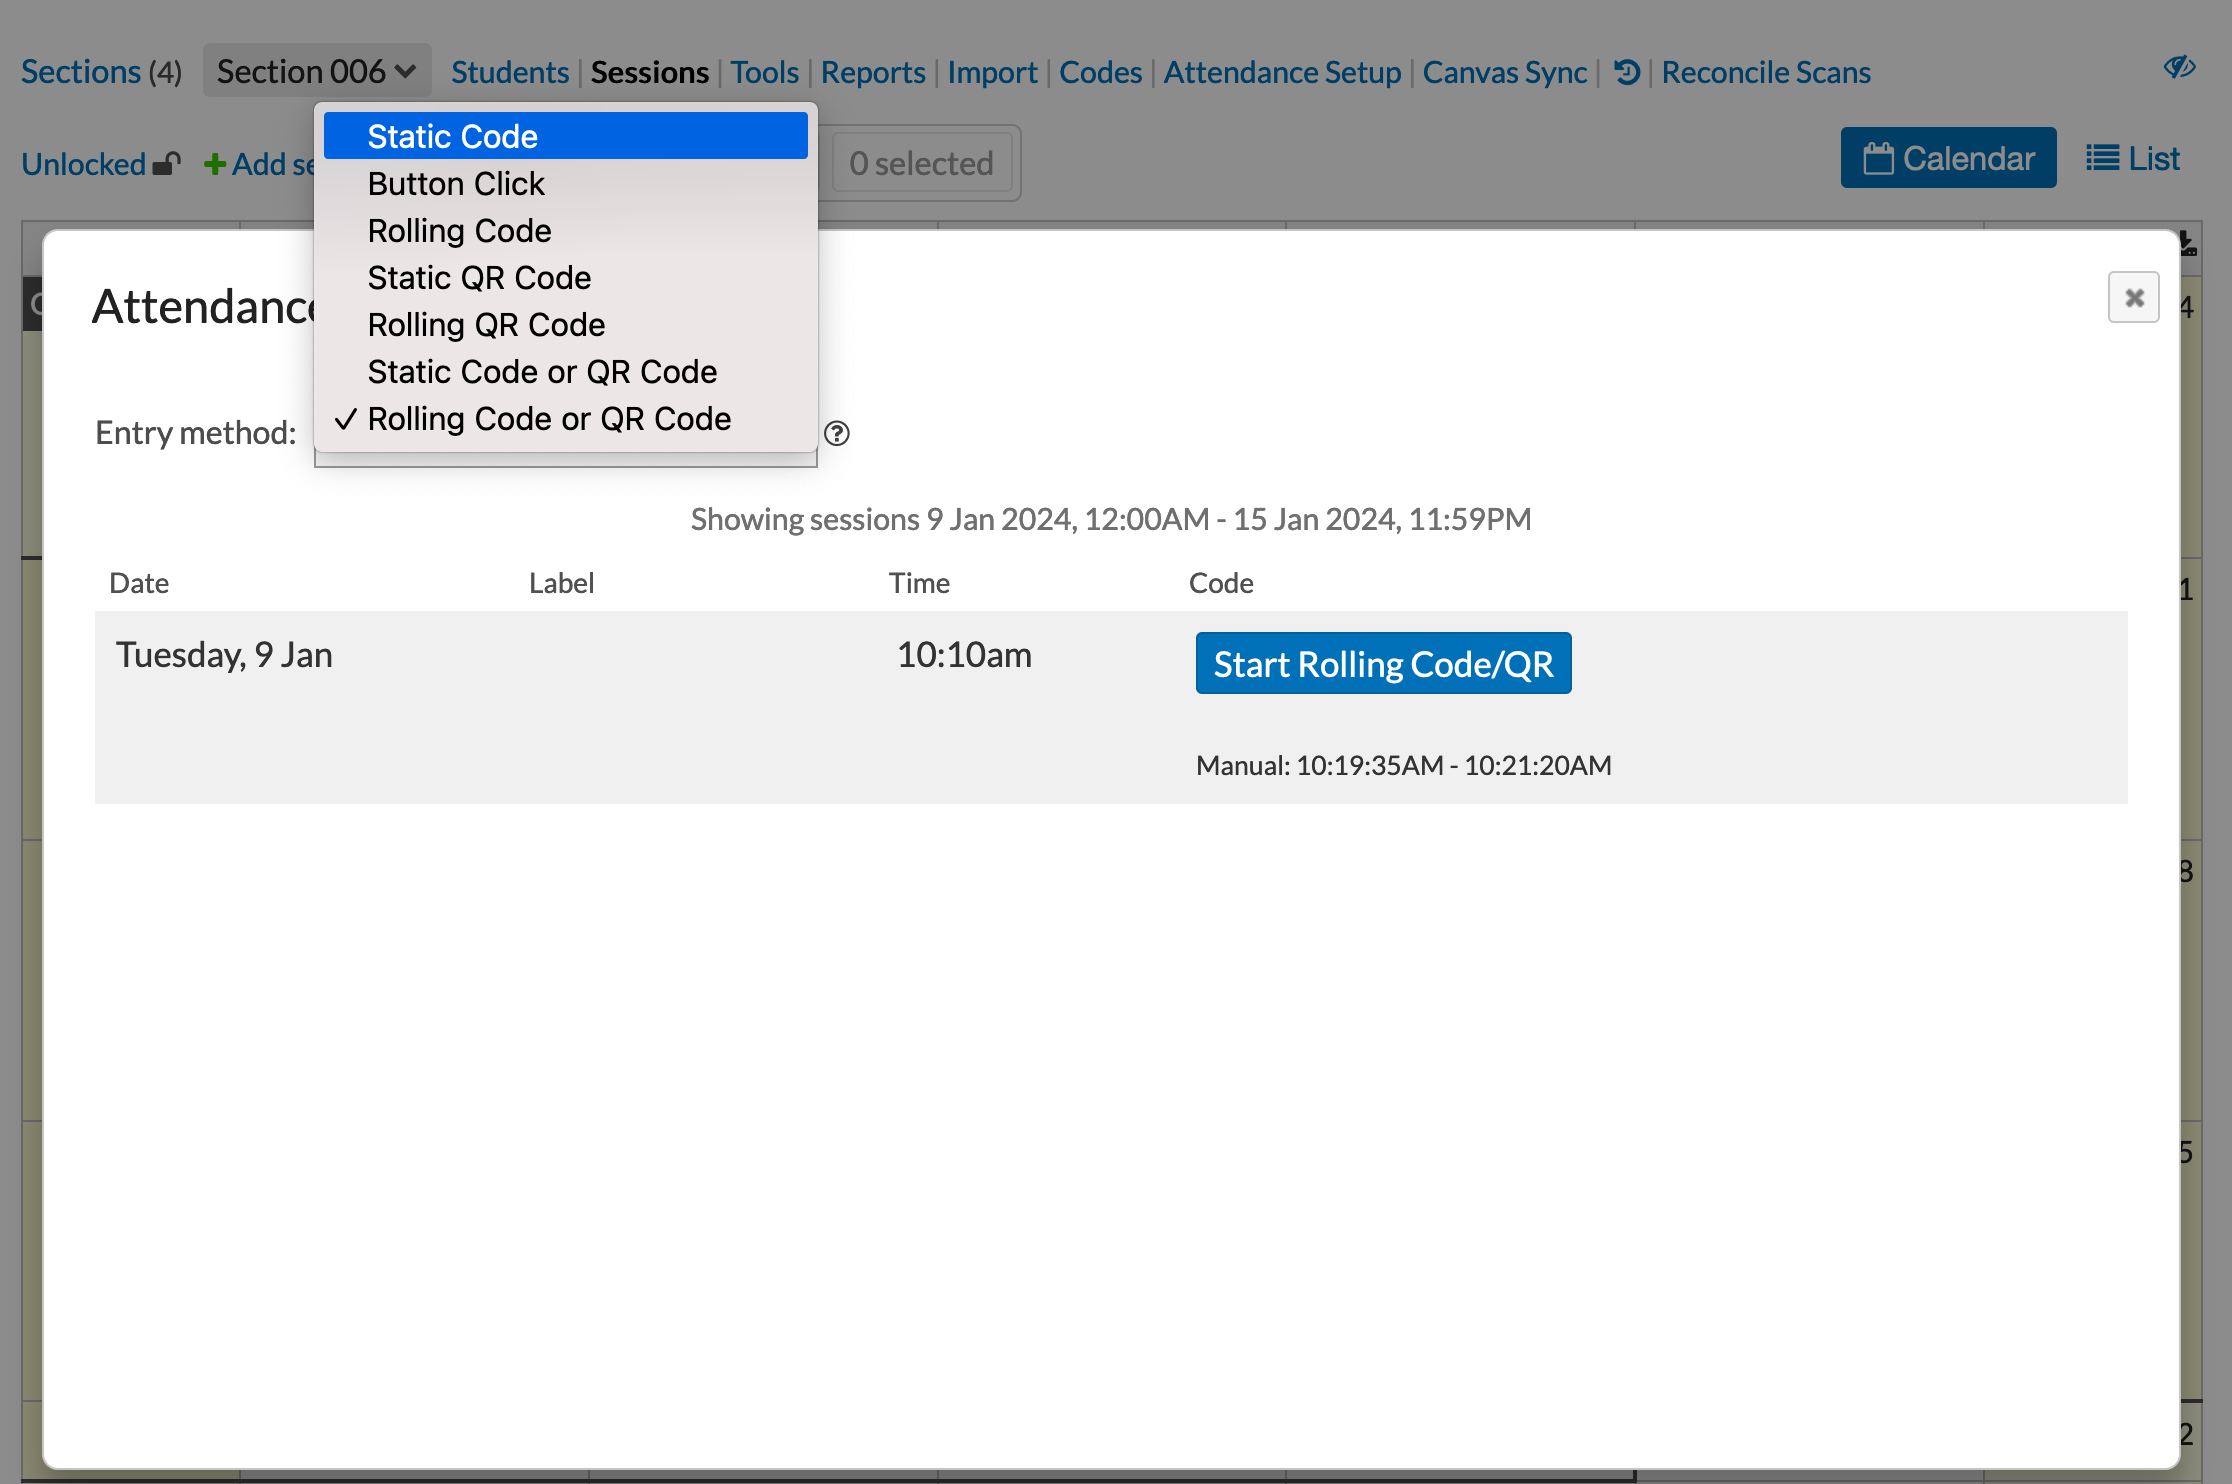
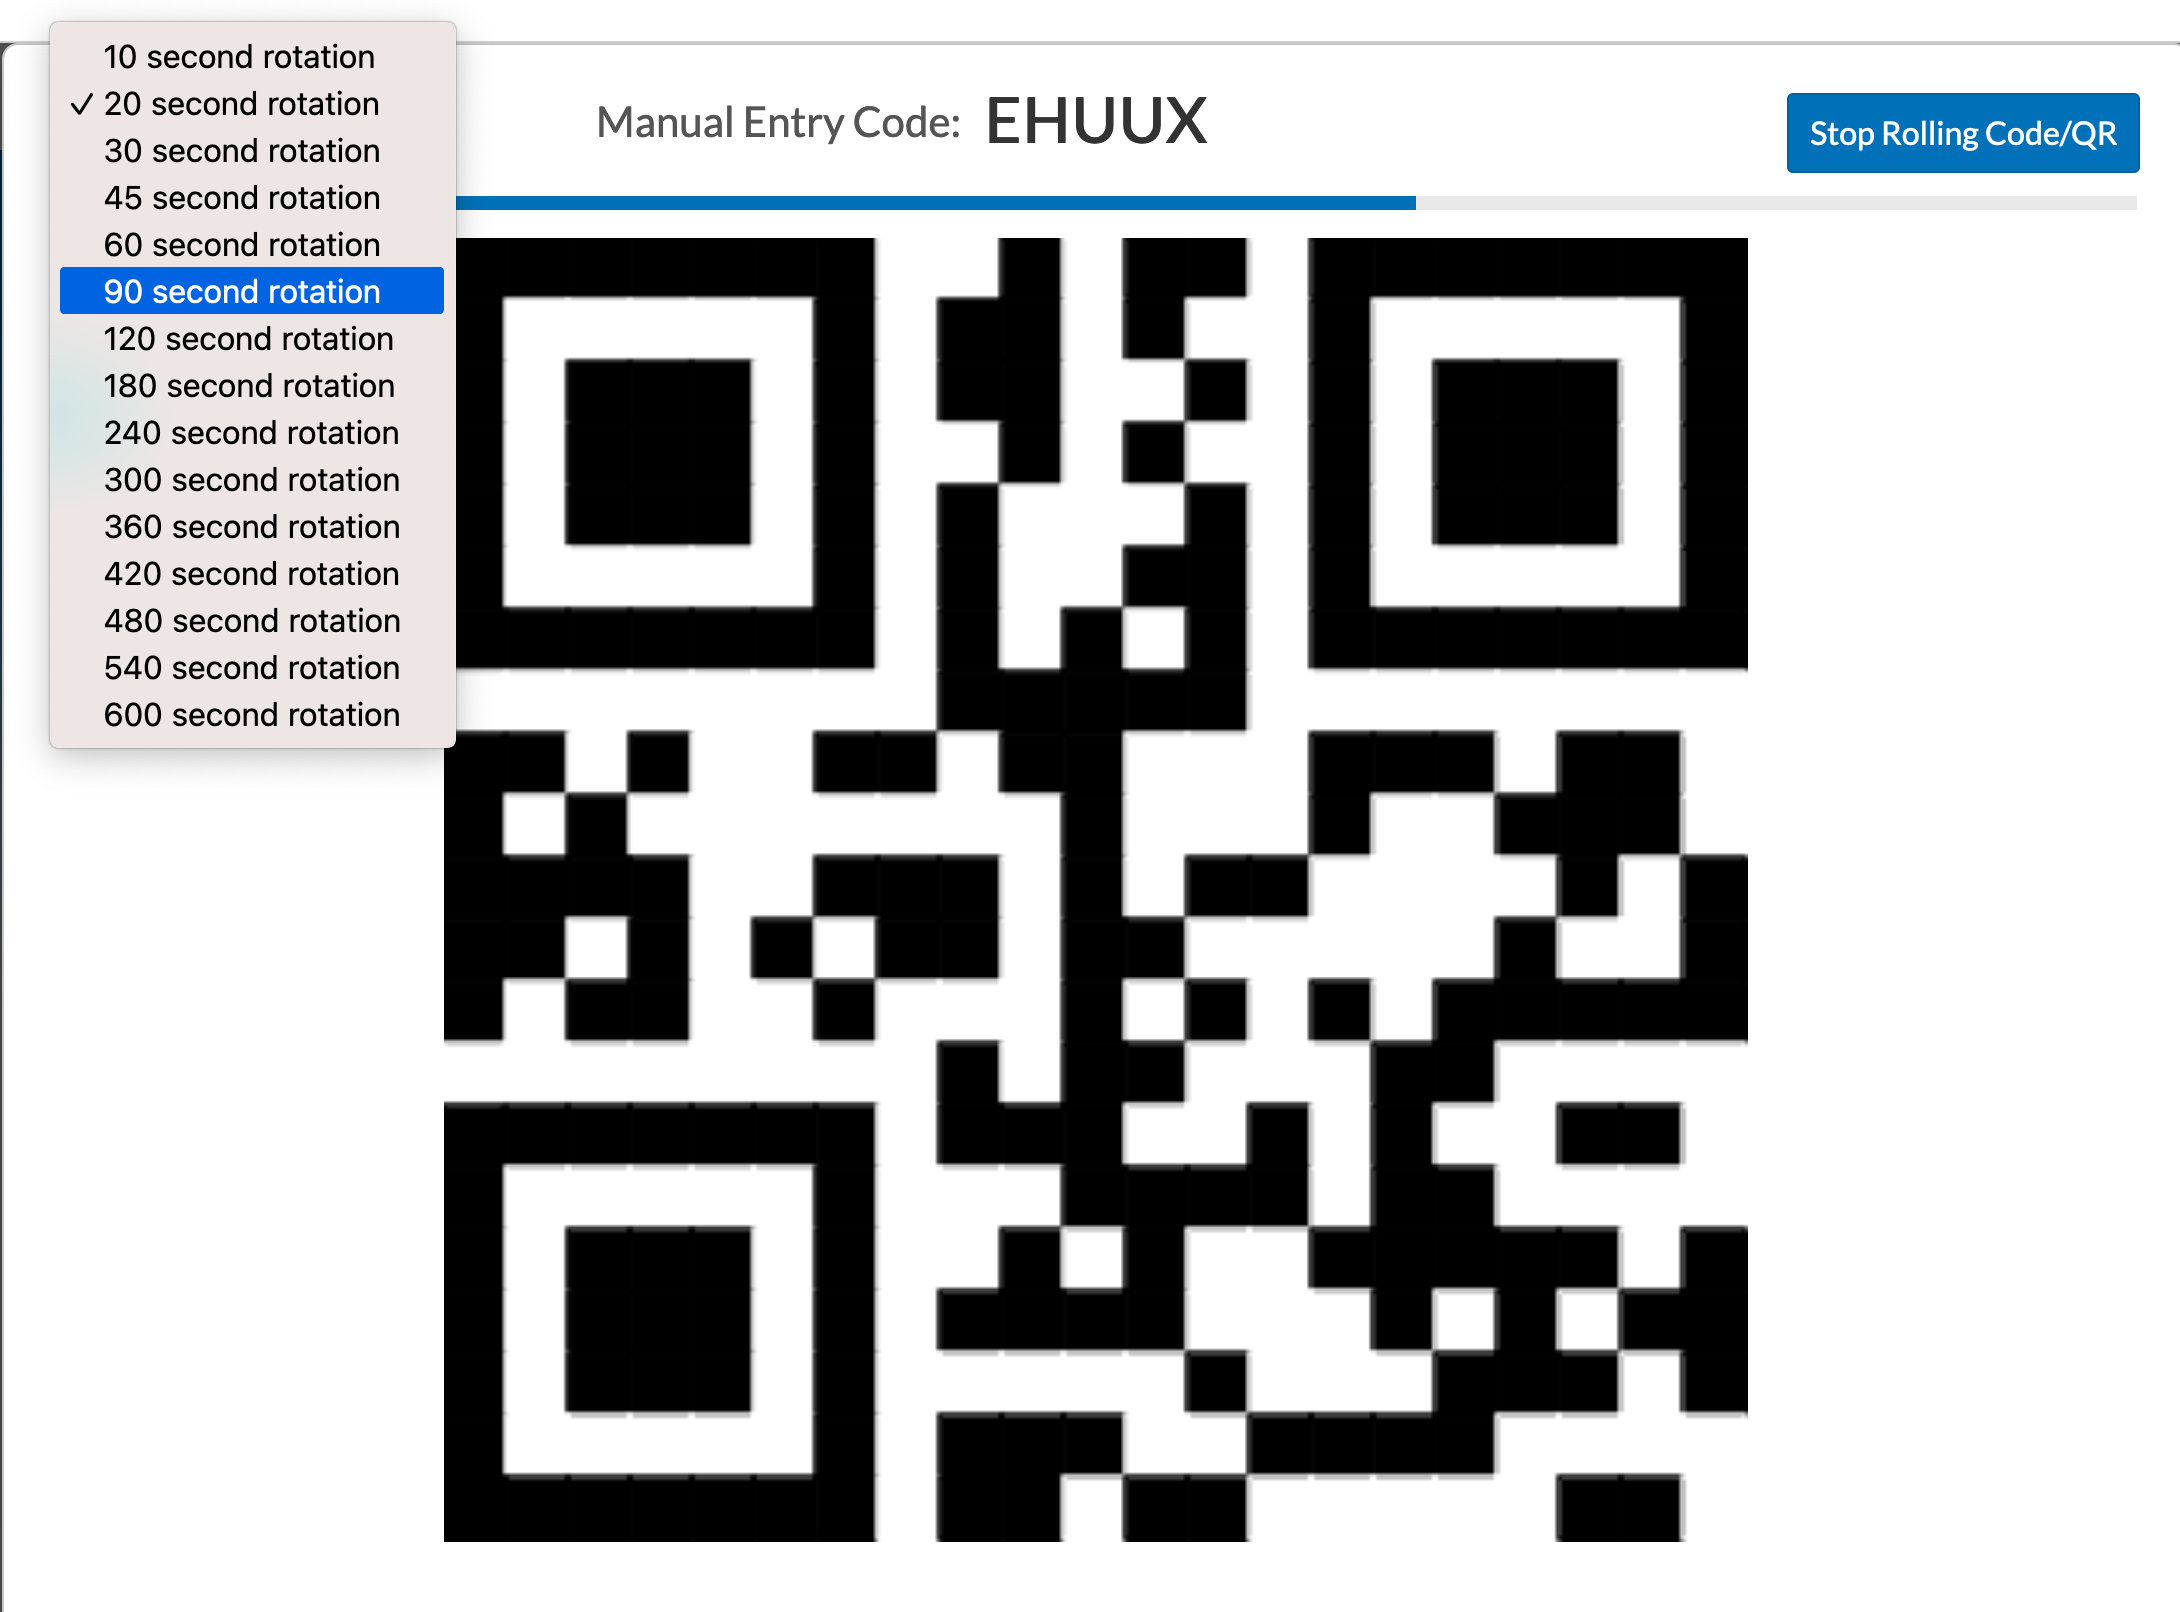
For any upcoming sessions, you can project either a QR or alphanumerical code that students must scan or enter in the aPlus+ attendance app in order to check in for class that day.
If you would like to allow students to check in for the first few minutes of class, then you will need to project your course content and the aPlus+ codes at the same time. For more information about Advanced Projection features, please see Using Technology in the Classrooms. Q1: Is there a way to have the QR code visible outside of Canvas, or do I need to have my whole Canvas page up while the attendance check-in session is open?
Q2: I want to delete a session, but it contains attendance data. How can I get around this?
Q3: I'm trying to adjust the attendance records for certain students who were not able to sign in using the code. Where do I go? When I'm in the "Students" tab, none of the names are clickable.
Once you're in the session data, clicking on the attendance status will open a drop-down menu where you can select the appropriate attendance status. Once you have adjusted this for all of the students, please remember to click the Save button at the top of the screen:
For any questions related to aPlus+ Attendance that are not addressed in this article, please view the Canvas instructor guide. Troubleshooting tip: If you are using Safari and encounter any access issues, please refer to our Using web browsers with Learning Tools article covering the use of Safari with Canvas learning tools. If you have trouble in Chrome, try using a different browser, like Firefox. Please contact the Courseware Team for support if you need more assistance.Projecting the Code
FAQ
A1: For the QR code option, since this does require a manual start, you will need to have the Canvas window containing the QR code open. If this is a static QR code that is displayed somewhere on a PowerPoint, the Canvas window can be minimized, but the code does have to be active and running for this to work.
A2: In order to delete a session containing data, you will first need to clear the data using the "Clear all" button found within that session:

Once you've selected "Clear all," you will need to click the blue "Save" button shown above. Then, return to the Sessions tab, select the dropdown for that day, and "Delete session":
A3: If you click on the date at the top of the column, it will take you to the attendance for that session where you can adjust the attendance status for your students:

Questions?


